LHS Photo Club Web Page
02/16/07 Panorama Photography (continued)
Iit is time to get out our needles and start stitching.
Don’t worry you will not prick yourself we will actually be stitching
with an eraser.
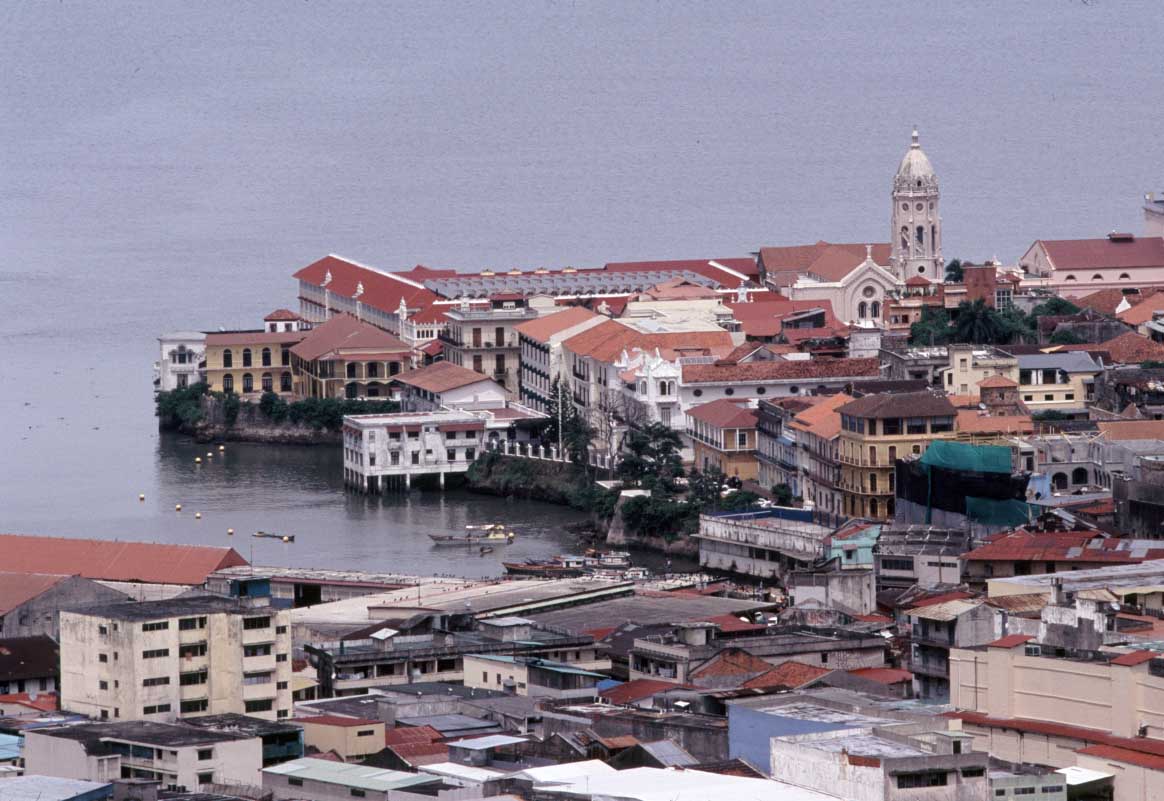
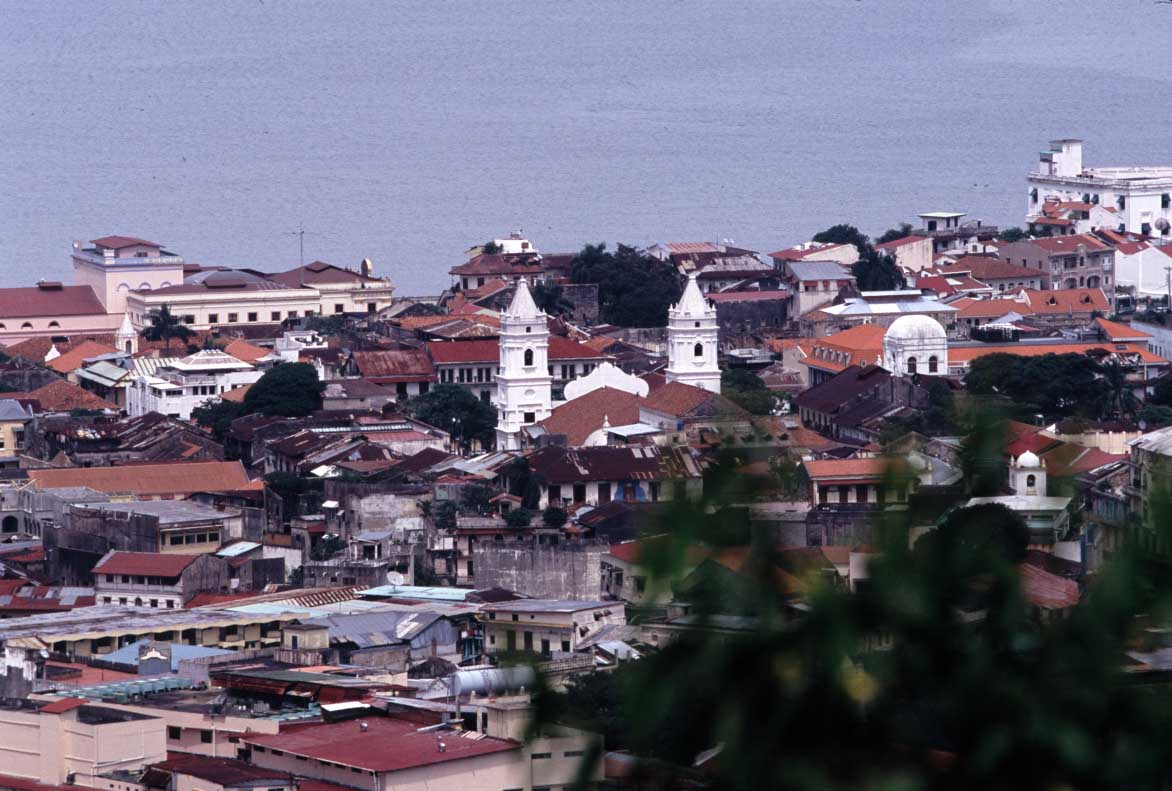
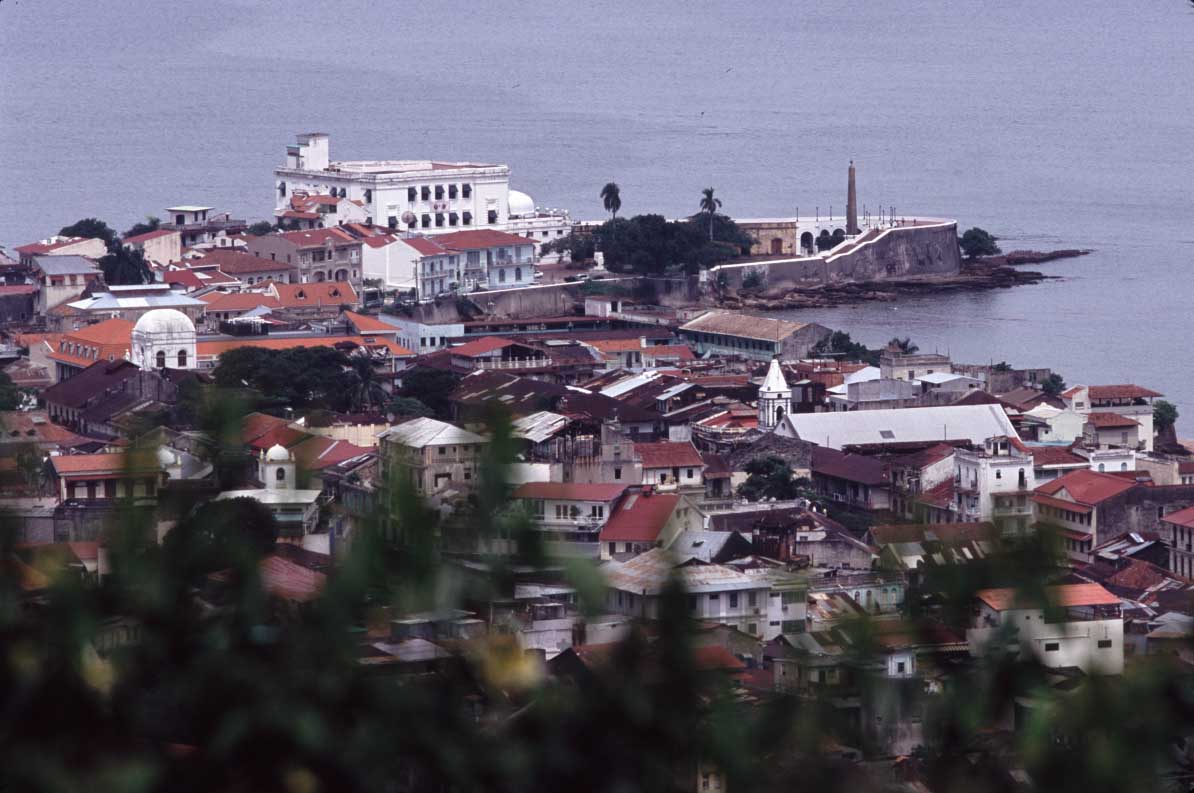
Save the three images below to your desktop.
pano1----------------------------pano2------------------------------pano3
Now open them in Photoshop. Make sure they are the only images open.
File>Automate>Photomerge (Photoshop CS and later)
Use Open files and Make sure the Attempt to Automatically
Arrange… is
checked, OK.
Photoshop now tries to align the images. If successful, as in this example
shot with a tripod, all layers will be aligned and all you have to do is
choose whether or not to check the Keep as Layers box. There are advantages
and disadvantages to both. Lets investigate.
Keeping it unchecked and click OK.
After some work by Photoshop we exit Photomerge and are presented with a
single layer containing a relatively seamless panorama.
All to do is use the Crop tool (c) to even out the image.
This image is nicely stitched but there is a significant color shift especially
on the left. Unfortunately Photomerge has left us with a flattened image
so fixing correcting it is more difficult.
So if your images don’t have any noticeable exposure or color shifts
leave Keep as Layers unchecked. Otherwise check it and we will have to stitch
the images manually.
To see how this is done lets look at another example.
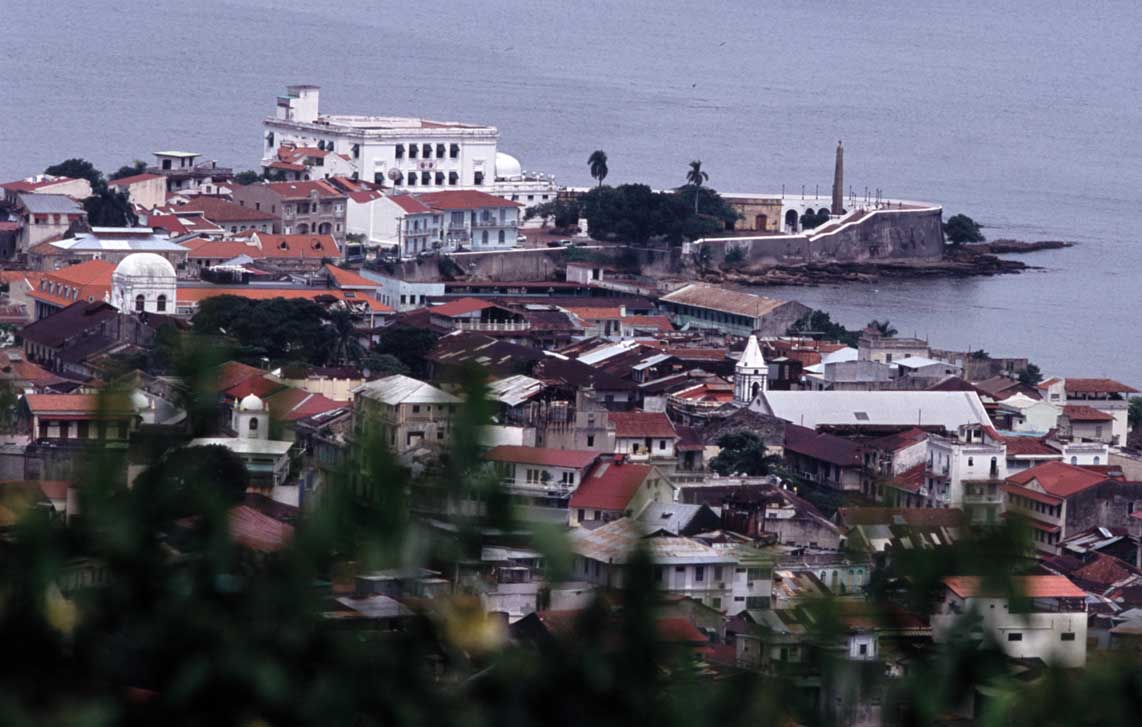
Close your new panorama as well as the Panama3 file.
Save this file pano3rotate to your
desktop and open it in Photoshop. These three images are now indicative of
images shot without a tripod.
File>Automate>Photomerge (Photoshop CS and later)
Use Open files and Make sure the Attempt to Automatically
Arrange… is
checked, OK.
Photoshop now tries to align the images. However this time it has trouble
with image number three because it is tilted a bit. You will most likely
get an error message or it will mess up the merge and put the right image
incorrectly in the center.
Make sure Snap to Image is checked.
Use the arrow tool to drag the left image and match it up as best you can.
Check the Keep as Layers box (we need to do some fine tuning on our own.)
OK
After some work by Photoshop we exit Photomerge and are presented with each
image in its own layer and not stitching between layers.
Make sure Photoshop has the layers in order with Pano1 on the bottom and
Pano3 as the top layer.
We are going to focus on lining up Pano3rotate on the right.
Change the Pano3rotate layer blending mode to Difference (any
parts that completely match up will now cancel each other out and make black)
Edit>Transform>Rotate
Use the mouse to drag a corner box and rotate the image
while at the same time using the arrow keys to move the entire layer around. Your goal is to
make the overlap region (your layer and the primary layer) completely black.
Once you feel that you have done the best you can hit Enter.
Now select the eraser tool with a medium to small brush
size and opacity set to 100% (Pano3rotate layer still the active layer).
You need to create a transition between the layer you are adding and the
underlying layer. To make the seam as invisible as possible we are going
to cut from top to bottom with the eraser tool. Zigzag from top to bottom
dragging the eraser tool next to dark areas. This ensures the seam is occurring
along regions that match up well. Now erase every part of Pano3rotate to
the left of this zigzag.
Now use the same procedure to blend the left and center images.
Next time I’ll show you a really cool trick for fixing any color casts.