LHS Photo Club Web Page
01/11/07 Black and White Conversion
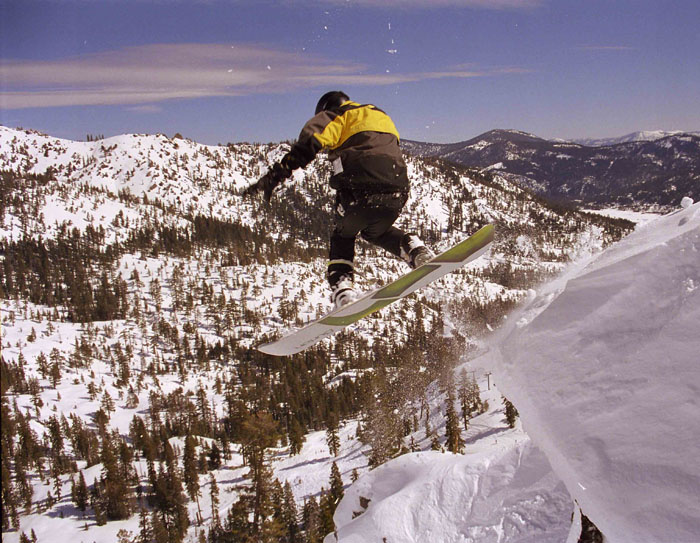
If you didn't bring your own image to work on copy one of the test images
to try this lesson.
-------------------snowboard------------------------- wedding-------------------------
Method 1 - Standard Conversion to Grayscale
This method is extremely simple (1 step). In Photoshop just select
Image>Mode>Grayscale
Presto, you have a black and white version of your color image. Unfortunately
this simple method usually produces flat, low-contrast images. Adding a Curves
adjustment layer with a "S" shape to increse the overall contrast, as we did
in the Quick Edit, will help but there is a better way.
File>Save As... and
save the file as snowboard1 or wedding1
Method 2 - Custom Grayscale
File>Open and open the original color image (you
will now have two images open)
Click on the Channels palette. It is most likely
behind the Lyers palette. If you still can't find it choose Window>Channels.
Notice that your color image is a mixture of Red, Green, and Blue. The RGB
channel combines them all together into the color image. Click
Red so that
only the Red channel eyeball is selected. The image becomes a grayscale image
showing the presence of red in the photo. Now Click
Green and then Blue.
Notice how some make better black and white images than others. Remember
which one(s) you liked the best because we are going mix them as we see
fit to make our custom grayscale.
Click RGB Channel to activate all the channel eyeballs and display the image
in color.
Click the black/white circle at the bottom
of the Layers palette and choose Channel Mixer
This creates a new adjustment layer and opens the Channel Mixer box.
Click the Monochrome box in the lower left corner. The Output Channel box
should = Gray
Now move the Red Green and Blue sliders around until
you achieve the desired result. The total percent should usually add up to about 100%. However you
can also increase or decrease the overall brightness with the Constant slider.
When you are satisfied (I decided on Red +40%, Green +80%, Blue 0%, and Constant
-5%) click OK. If you change your mind and want to modify the percentages later
just double click the channel mixer icon in the Layers palette.
Bonus - Painting Selective Color
Copy your Channel Mixer layer by dragging it to the new layer icon next
to the trash can.
Double Click the text Channel Mixer Copy and rename
it Channel Mixer Selective Color
Turn off the eyeball for the original Channel Mixer
layer. Now you will
be working on a copy and don't have to worry about messing things up.
Type b to activate the brush tool. Use [ or ] to
make the brush smaller or larger. Make sure the color is set to black and
the opacity is set correctly (usually 100%). Now paint color back into
specific parts
of
your
image. Technicaly you are creating a mask that prevents the Custom Grayscale
adjustments from affecting certain parts of the image. Zoom in to be more
precise and if you mess up type x to change the brush color
to
white
and
erase your
mistakes.
Holding
down
the
space
bar
changes to the hand tool so you can drag to different parts of the image.
Now lets change our selective color into color boost. Our goal is to make our subject "Pop" from the rest of the photo. With your Channel Mixer Selective Color layer active change the Opacity (top center of the layers palette) to 50%. Now our subject is 100% color and everything else is 50% color and 50% grayscale. Looks pretty cool!
Use the eyeballs to activate and deactivate layers to compare your different
versions. Also compare them to the original Standard Grayscale Conversion.